
Wi‑Fi
What makes the ESP32 (and ESP8266) such great IoT devices is their ability to connect to the internet over Wi‑Fi. The Arduino platform for the ESP32 already includes a few libraries that make this very easy to use.
The simplest sketch you can use is the following:
1 2 3 4 5 6 7 8 9 10 11 12 13 14 15 16 17 18 19 20 21 22 23 24 25 26 27 28 29 30 31 32 | |
From top to bottom, here is what happens:
- Include the header file
WiFi.h, a standard library for the ESP32 that provides functions to connect to the internet. - The WiFi mode is set to
WIFI_STA, which means the ESP32 acts as a station and will look for an access point. - The
WiFi.begin(..., ...)function connects to the network using the given SSID and password. - The
whileloop keeps the program waiting until the Wi‑Fi connection is established. - And finally in the
loop()function:- LED on
- Wait…
- LED off
- Wait…
Because the while loop in the setup() function keeps repeating as long as there is no connection, you only see the LED blinking when there actually is a Wi‑Fi connection.
GET request
Once you’re connected to the internet you can, just like a web browser, send requests to retrieve or send data.
The following example prints the received data from the server over the serial interface, similar to printing text in Java/Python/…. While the sketch is running you can open the Serial Monitor to see the text:
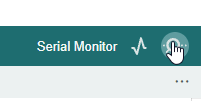
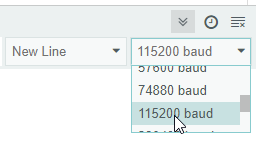
Make sure you’ve selected 115200 baud as the speed:
You can now make a GET request with the following sketch:
1 2 3 4 5 6 7 8 9 10 11 12 13 14 15 16 17 18 19 20 21 22 23 24 25 26 27 28 29 30 31 32 33 34 35 36 37 38 39 40 41 42 43 44 45 46 | |
What you can see in this code:
- The
setup()function is almost the same as in the previous example, except that the LED initialization has been removed. - In the
loop()function:WiFiClientandHTTPClientare used to set up the request.httpClient.begin(): prepares the request tohttp://koffiepunthva.nl/api/- Making requests to an HTTPS server is more complex, so this example uses an HTTP server.
httpClient.GET(): receives and checks the HTTP status code.httpClient.getString(): retrieves the data (payload) from the response.
JSON parsing
When you work with API endpoints you often deal with structured text; a common format is JSON. An example of JSON:
1 2 3 4 5 6 7 8 | |
To parse this text into something useful you can use a library. You can install it by going to the Arduino IDE menu Sketch > Include library > Manage libraries..., searching for ArduinoJson and installing that library:
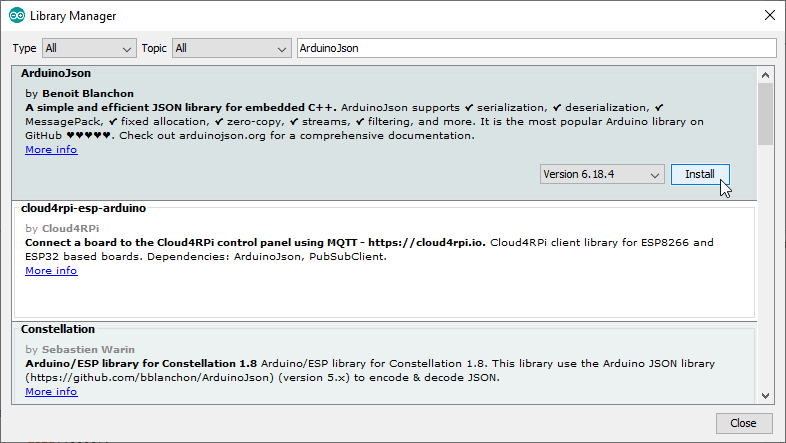
Follow these steps to integrate the JSON parser into the GET‑request sketch:
Include the library:
1 | |
Declare a buffer in your program that stores the data; make sure it is large enough for the content:
1 | |
Deserialize (parse) the payload of the GET request into jsonBuffer:
1 | |
Read a value from the JSON, for example coffee:
1 2 3 | |
Or tea:
1 2 3 | |